
Follow the steps below to implement Server-Sent Events (SSE) in NodeJS. We are using the ExpressJS framework for the implementations here, but the same approach will work for any NodeJS framework.
More details about SSE including all headers and options are discussed in a separate article, check that to know the subject in detail (Server-Sent Events (SSE)).
JS web client and EventSource options and complete usage are discussed in a separate article in detail (JS EventSource SSE Web Client).
Implement Server
Create a new directory for the project. In the terminal go to that directory.
Initiate an npm project using the following command, enter the required information that is asked in the terminal by npm.
npm initInstall required packages. We are using ExpressJS for this project, there are a few other packages for handling the requests and responses.
npm install express cors uuid --saveIn the package.json file add the following line under the scripts section:
"start": "node index.js"Or, if you want to use nodemon then add the following line
"start": "nodemon index.js"You will have package.json file like below:
{
   "name":"sse",
   "version":"1.0.0",
   "description":"",
   "main":"index.js",
   "scripts":{
      "test":"echo \"Error: no test specified\" && exit 1",
      "start":"node index.js"
   },
   "author":"",
   "license":"ISC",
   "dependencies":{
      "cors":"^2.8.5",
      "express":"^4.17.1",
      "uuid":"^8.3.2"
   }
}
Create a file in the same directory named index.js and paste the following lines in the file:
// index.js

const express = require('express');
const cors = require('cors');
const uuid = require('uuid');

const app = express();

app.use(cors());
app.use(express.json());
app.use(express.urlencoded({extended: false}));

let subscribers = [];

function events(request, response, next) {
    const headers = {
      'Content-Type': 'text/event-stream',
      'Connection': 'keep-alive',
      'Cache-Control': 'no-cache'
    };

    response.writeHead(200, headers);

    const subscriberId = uuid.v4();
    const data = `data: ${JSON.stringify({id: subscriberId})}\n\n`;

    response.write(data);

    const subscriber = {
      id: subscriberId,
      response
    };

    subscribers.push(subscriber);

    request.on('close', () => {
      console.log(`${subscriberId} Connection closed`);
      subscribers = subscribers.filter(sub => sub.id !== subscriberId);
    });
}

async function sendEvent(request, response, next) {
    const data = request.body;
    subscribers.forEach(subscriber => subscriber.response.write(`data: ${JSON.stringify(data)}\n\n`));

    response.json({success: true});
}

app.get('/events', events);
app.post('/send-event', sendEvent);

app.listen(3000, () => {
    console.log('Events service started at http://localhost:3000')
});
Run the script using the following command:
npm startThis will run the server on http://localhost:3000.
The events will be available on http://localhost:3000/events
New event creation endpoint: http://loccalhost:3000/send-event
Server-side work is complete.
But where is the actual magic happening?
It’s happening in the headers that we set in the response, specifically, the following three headers are responsible:
‘Content-Type’: ‘text/event-stream’: This tells the client that, it is an Event Stream. So the client knows it is a continuous source of data or events.
‘Connection’: ‘keep-alive’: This line asks the client to keep the connection open and alive (do not just close after the request).
‘Cache-Control’: ‘no-cache’: revalidate cache each time before reuse.
Also when we are sending the message it needs to be in some specific format:
Send the data in format: `data: your_message\n\n`. So your every message should start with ‘data: ‘(a space is required after data and colon), and end with 2 new lines(\n\n).
Implement Client
To consume the events EventSource is used. Now create an HTML file to test, past the following lines in the HTML file:
<html>
  <head>
    <title>SSE test</title>
  </head>

  <body>
    Check console for the result
  </body>

  <script>
    const events = new EventSource('http://localhost:3000/events');

    events.onmessage = (event) => {
      const data = JSON.parse(event.data);

      console.log(data);
    };
  </script>
</html>
Note: events.onmessage is for subscribing to the default type of message, when you do not define the message type. If you define the message type from the backend then you have to subscribe to that by using addEventListener, like, events.addEventListener(“your_custom_message_type”, function(event) { console.log(event)})
Send Request
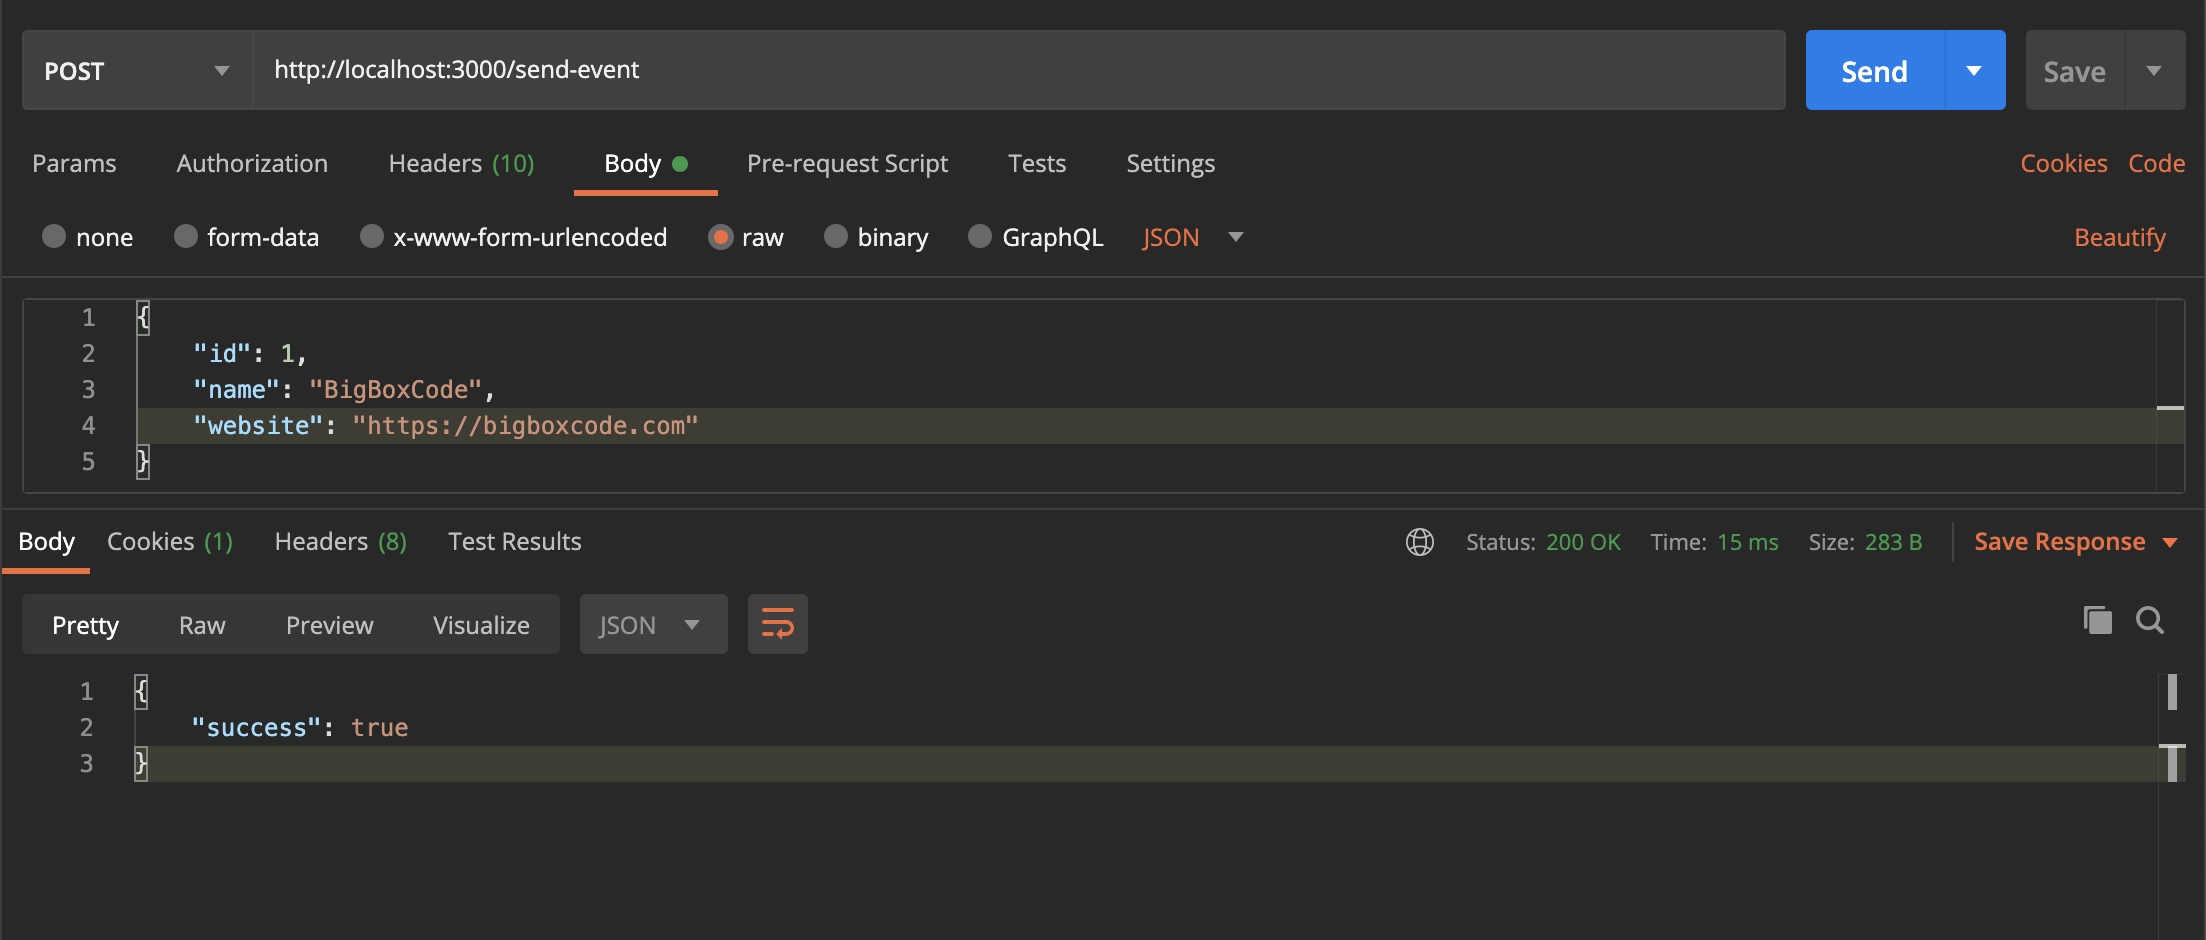
Using Postman
Open postman or any other client to send the POST request to http://localhost:3000/send-event for a new message/event. Send any JSON data in the body, like below:
{
    "id": 1,
    "name": "BigBoxCode",
    "website": "https://bigboxcode.com"
}
Using CURL
Use the following command to send the POST request to http://localhost:3000/send-event for a new message/event using CURL.
curl --location --request POST 'http://localhost:3000/send-event' \
--header 'Content-Type: application/json' \
--data-raw '{
    "id": 1,
    "name": "BigBoxCode",
    "website": "https://bigboxcode.com"
}'
Check Result
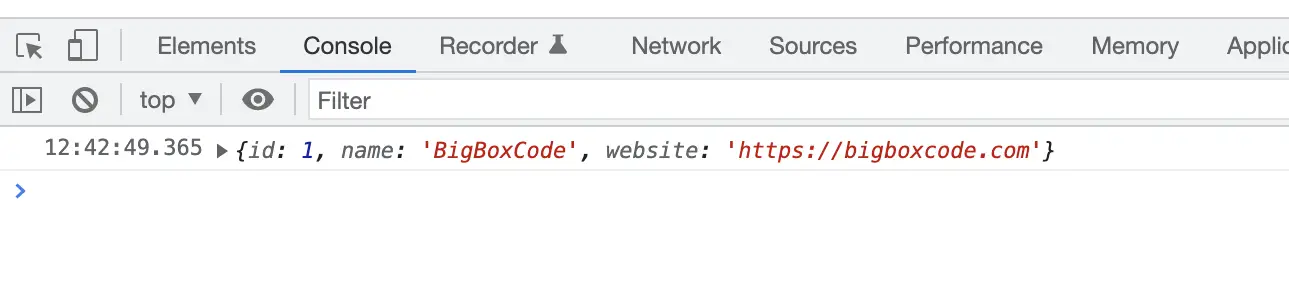
Check your browser console tab. The message should be there
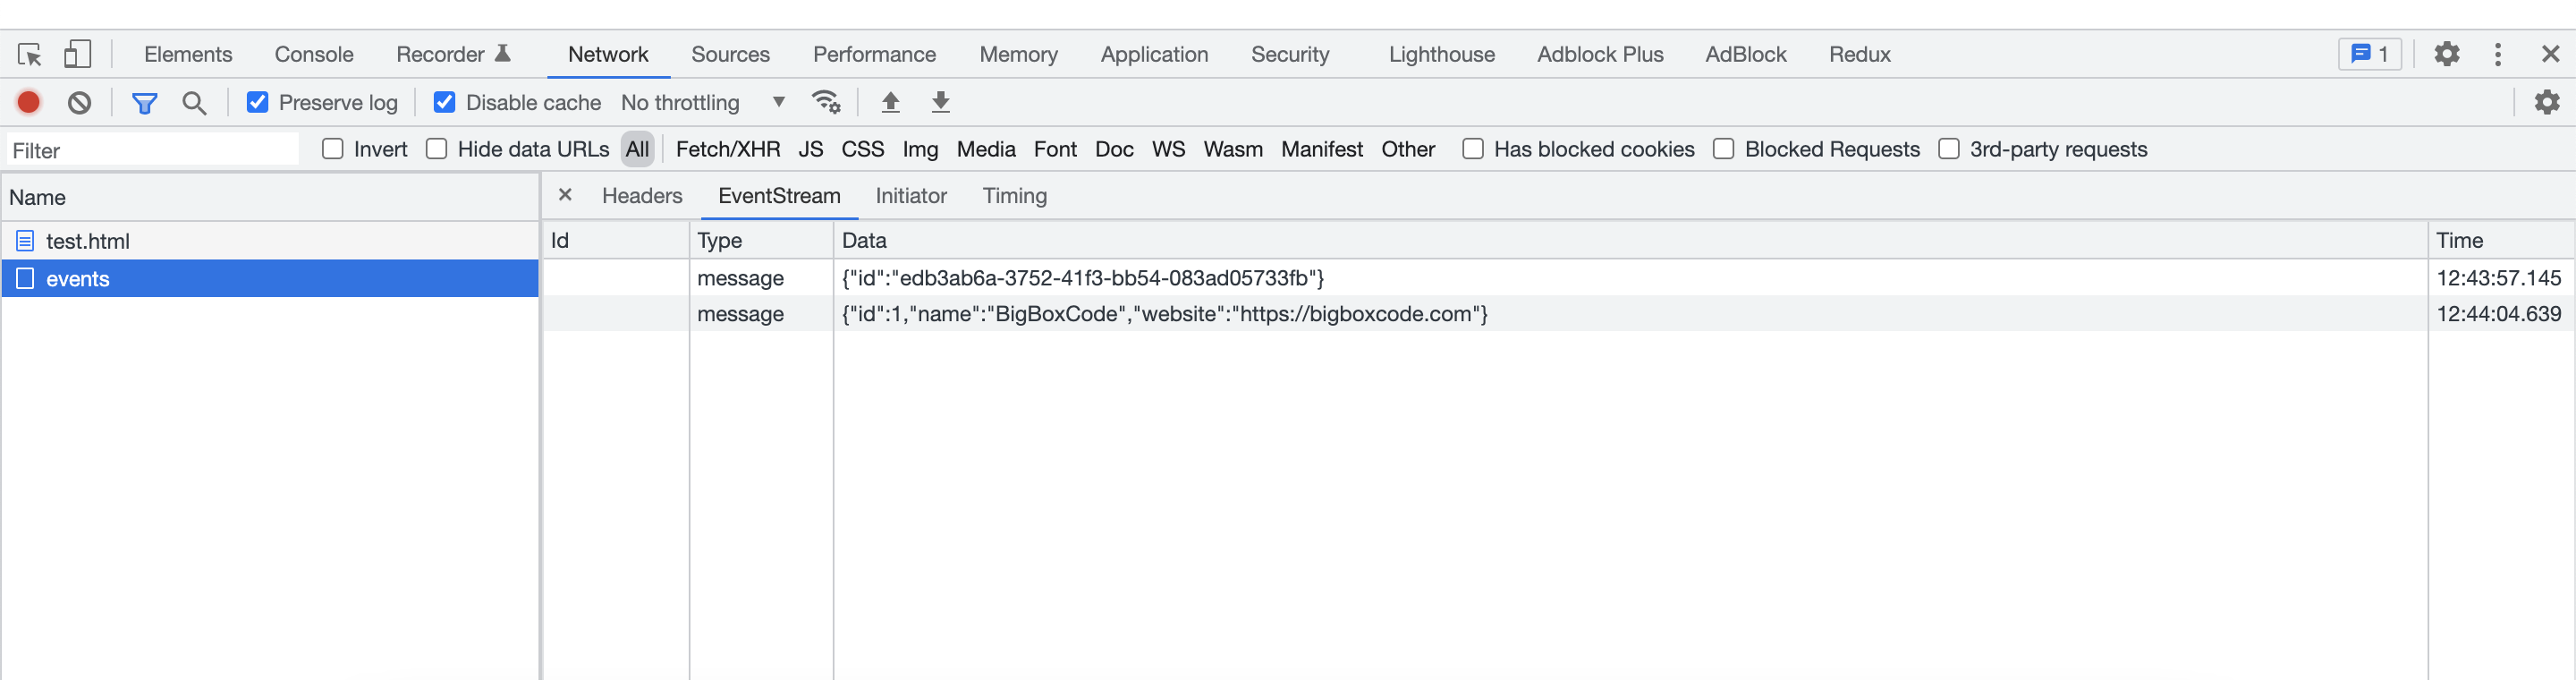
Or you can check the Network tab and check the data there. Check the EventStream tab there for the request.
Dockerize Application
Create a file named `Dockerfile` in the NodeJS application directory and add the content below in that file.
FROM node:16

# Create app directory
WORKDIR /usr/src/app

RUN npm install -g nodemon

COPY package*.json ./

RUN npm install

# Bundle app source
COPY . .

EXPOSE 3000

CMD [ "npm", "start" ]
Build the docker image by using the following command:
docker build -t expressjs-sse .Here ‘expressjs-sse‘ is the tag name of the image.
Run it using the following command:
docker run -it -p 3000:3000 expressjs-sseNow the application should be running on localhost:3000. So the same URL and endpoints mentioned above will work.
Source Code
All source codes are available in the git repository, follow the link below:
| Implementation | Source Code Link |
|---|---|
| Server-Sent Events(SSE) in ExpressJS |